



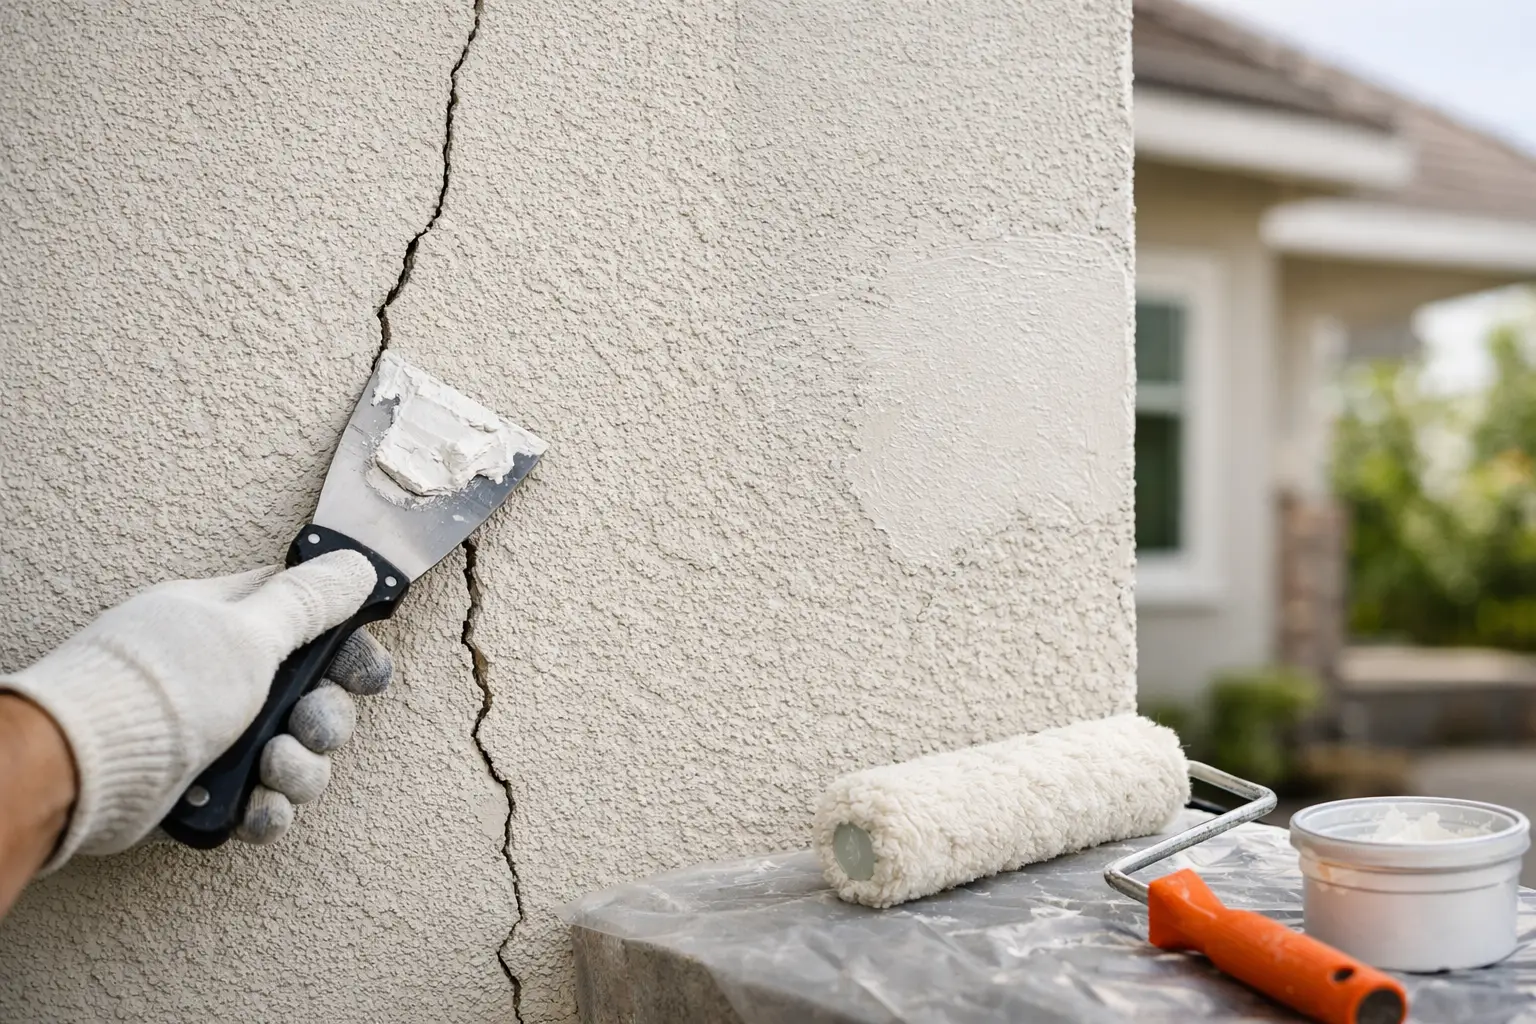
A fresh exterior paint color can make a home look cared for again, but paint cannot hide a moving stucco crack for long. Without proper stucco crack repair before painting, the new finish may split along the same line, trap moisture behind the coating, or leave an obvious patch that stands out in afternoon light.
For homeowners, the goal is not simply to fill every mark in the wall. It is to determine why the crack formed, use a repair method that fits its size and movement, and prepare the surface so the paint system can do its job. That preparation is what separates a short-lived cosmetic fix from a finish that protects your home.
Why cracks should be repaired before exterior painting
Stucco is durable, but it is not completely rigid. Homes settle, temperatures change, moisture moves through exterior materials, and minor cracking can develop over time. In North San Diego County, long dry stretches, strong sun exposure, and occasional heavy rain can all place stress on exterior surfaces.
Painting over a crack may make it less visible for a short time, especially with a thick paint. But the crack has not been addressed. If it continues to move, the paint film can break. Water can then enter through the opening, work behind the coating, and lead to peeling, staining, or damage to the wall assembly.
A repaired and properly primed surface gives exterior paint a uniform foundation. It improves adhesion, helps the finish look more consistent, and reduces the chance that repaired areas will show through after the job is complete.
Not every stucco crack means the same thing
The width, location, pattern, and condition of a crack all matter. A professional painter or stucco repair contractor does not treat a hairline surface crack the same way as a wide, deep, or recurring separation.
Hairline and spider-web cracks
Fine hairline cracks are common on older stucco and are often caused by normal surface shrinkage or weather exposure. They may be limited to the finish coat and can frequently be repaired with a compatible elastomeric patching material or crack filler, followed by texture blending and primer.
Even small cracks deserve attention. A patch that is applied over chalky, dusty, or loose stucco will not hold well, and a smooth repair can look out of place against a heavy sand-float or lace texture. The preparation and texture match are as important as the filler itself.
Wider cracks and separations
Cracks that are wider, deep enough to catch a fingernail, or visible around windows, doors, vents, and wall transitions need closer evaluation. These areas can move differently than the surrounding stucco. Simply smearing caulk over a wide crack may create a visible line, attract dirt, or fail as the materials expand and contract.
Depending on the condition, the repair may require opening and cleaning the crack, applying a flexible sealant or patching system, embedding reinforcing mesh, and rebuilding the texture. The right approach depends on whether the crack is in the stucco finish, at a joint between materials, or related to underlying movement.
Cracks that need further investigation
Some cracks are warning signs rather than routine paint-prep items. Diagonal cracks that extend from window or door corners, repeated cracking in the same area, bulging stucco, soft spots, rust staining, or cracking paired with water damage should be evaluated before painting begins.
Painting is not a structural repair. If there is active water intrusion, failed flashing, drainage trouble, framing movement, or damage behind the stucco, the underlying issue should be corrected first. A responsible contractor will explain that trade-off rather than coat over a problem that is likely to return.
The proper process for stucco crack repair before painting
A lasting repair follows a sequence. Skipping steps may save time on the front end, but it often shows up later as peeling paint, flashing patches, or cracks reopening through the finish.
Start with cleaning and a close inspection
Exterior stucco collects dust, cobwebs, mildew, oxidation, and airborne residue. Before repairs begin, the wall needs to be cleaned carefully, often through controlled power washing. The pressure must suit the surface condition. Excessive pressure can damage aged stucco or force water where it does not belong.
Once the wall is clean and dry, cracks are easier to see and assess. The repair team can also identify loose paint, chalking, failed caulking, damaged trim, and areas where water may be entering around penetrations.
Remove loose material and prepare the crack
A repair is only as sound as the material beneath it. Loose stucco, crumbling patch material, dirt, and failing paint should be removed from the crack and its edges. Wider cracks may need to be opened slightly to create a stable profile for the repair product.
This step is not about making the crack larger without reason. It is about removing weak material so the patch can bond to solid, clean stucco. Repairs made over loose edges often fail at the perimeter, leaving a noticeable outline under paint.
Use materials suited to the crack and surface
Professional repair materials are selected based on the type of crack, surrounding texture, and expected movement. Flexible exterior sealants can be appropriate at certain joints and transitions. Cementitious patch materials may be used where stucco needs to be rebuilt. Reinforcing mesh can help bridge specific areas where a simple filler would be more likely to crack again.
There is no single tube or bucket that solves every stucco issue. Using the wrong product can create a repair that is too rigid, too soft, poorly bonded, or incompatible with the intended paint coating.
Match the texture before priming
Texture matching is where many repairs become visible. Smooth patches placed in a rough stucco field can look like a repair even after several coats of paint. A skilled technician recreates the surrounding finish as closely as practical, whether it is a light sand texture, heavy float, knockdown, or lace pattern.
Texture may need time to cure before painting. Rushing this stage can affect adhesion and leave uneven sheen or color after the finish coats are applied.
Prime repaired areas and apply the right coating
Primer helps create a consistent surface between old paint, bare stucco, and repaired sections. It can reduce uneven absorption and support better adhesion for the finish coat. On homes with widespread hairline cracking, a high-build or elastomeric coating may be worth considering because it offers greater flexibility than standard exterior paint.
That option has trade-offs. Elastomeric coatings can help bridge fine, non-moving cracks, but they are not a cure for structural movement or moisture problems. They also need to be applied at the correct thickness and over a properly prepared, dry surface. The best coating choice depends on the home’s condition, texture, exposure, and maintenance goals.
Common mistakes that make cracks return
The most common mistake is treating paint as a crack repair product. Thick paint may conceal a fine line temporarily, but it cannot properly fill, reinforce, and texture a damaged area. Another frequent problem is applying patch material to a dirty or damp wall, which weakens the bond from the start.
Homeowners also sometimes use interior spackle, lightweight filler, or a generic caulk for an exterior stucco repair. These products may shrink, break down in sunlight, or remain visibly different from the wall after painting. A repair should be made with exterior-rated materials and finished for the specific stucco texture.
Finally, do not overlook the cause of recurring cracks. If sprinklers regularly hit the wall, gutters overflow, window trim has failed, or a roof-to-wall transition is leaking, repairing the stucco without correcting the water source only delays the next problem.
When professional repair is the better choice
Minor, stable hairline cracks may be manageable for an experienced homeowner with the right materials and patience for texture work. Larger cracks, matching textured finishes, suspected moisture damage, or broad exterior repainting projects are usually better handled as part of a professional preparation plan.
An on-site evaluation gives homeowners a clearer answer than a one-size-fits-all recommendation. The Painter Man can assess the exterior condition, identify preparation and repair needs, and provide a detailed estimate before the painting work starts. That approach helps avoid surprises and gives the finished coating a better chance to perform as intended.
Before choosing a new exterior color, take a slow walk around the home in good daylight. Mark cracks, check the areas around windows and rooflines, and look for signs of moisture or loose stucco. Addressing what the wall needs now is one of the most practical ways to protect the work you plan to put on top of it.
Leave a Reply