


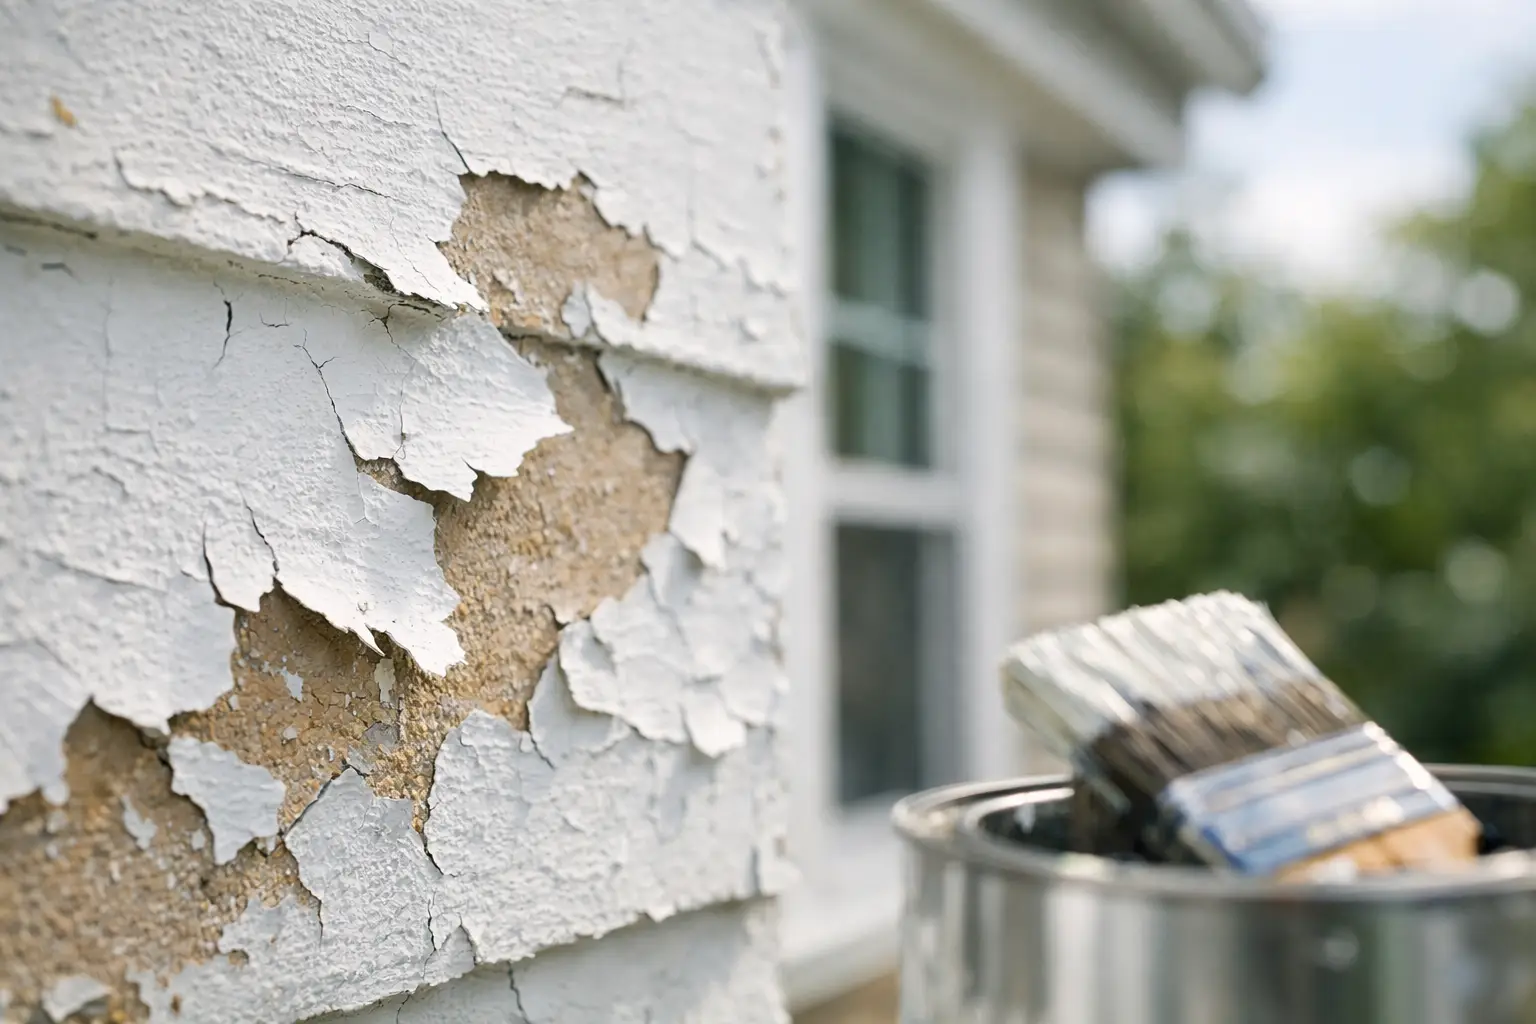
A few loose paint chips near a window may look like a cosmetic problem, but paint peeling on exterior walls often points to a breakdown underneath the finish. On homes in North San Diego County and South Riverside County, intense sun, seasonal moisture, sprinklers, and aging stucco or wood can all take a toll. The right repair is not simply putting a new coat over the spot. It starts with finding out why the paint let go in the first place.
Why Paint Peeling on Exterior Walls Happens
Exterior paint is meant to act as a protective layer. When it loses adhesion, moisture, heat, surface movement, or poor preparation is usually involved. Sometimes there is one clear cause. More often, several conditions have worked together over time.
Moisture gets behind the paint
Moisture is one of the most common reasons paint peels. Water can enter through cracked stucco, failed caulking around windows and doors, damaged trim, roof runoff, or a leaking gutter. Sprinklers that repeatedly hit a wall can create the same problem, especially near the bottom of the home.
Once water gets behind the paint film, it can push the coating outward and weaken its bond to the surface. You may see bubbling, blistering, flaking, or paint that pulls away in sheets. Repainting before the source of water is corrected may make the wall look better briefly, but the failure can return.
The surface was not prepared correctly
Paint needs a clean, sound surface to hold onto. Dust, chalky residue, mildew, peeling layers, oil, and old loose caulk all interfere with adhesion. Applying paint to damp stucco, skipping primer where it is needed, or coating over a failing previous finish can also shorten the life of the job.
This is why preparation is where a professional exterior project earns its value. Power washing, scraping, sanding, repairs, caulking, spot priming, and allowing surfaces to dry properly are not optional extras. They create the stable foundation the finish coats need.
Sun and heat have worn down the coating
Southern California sunshine is hard on exterior coatings. Constant ultraviolet exposure gradually dries out paint, fades color, and makes the surface brittle. Dark colors on south- and west-facing walls can absorb more heat, which adds stress to both paint and the material beneath it.
Sun damage usually begins as fading, chalking, or a dull finish. If the coating has become brittle, it may eventually crack and peel. A quality exterior paint selected for the wall material and exposure can help, but no coating can perform well over neglected or deteriorated surfaces.
Stucco, wood, and trim are moving or deteriorating
Different exterior materials fail in different ways. Stucco can develop hairline cracks that allow water in. Wood trim may expand and contract with changing temperatures, then split or rot when it stays damp. Fascia boards and eaves are especially vulnerable when roof drainage is poor.
Paint cannot solve structural wood rot or bridge active cracks indefinitely. Those issues need repair before painting begins. Addressing the substrate protects the investment in the finish and helps prevent hidden damage from spreading.
How to Tell Whether the Problem Is Serious
Not every small paint chip calls for a full exterior repaint. A minor area may be suitable for a targeted repair if the surrounding coating is firmly bonded, the color can be matched, and there is no sign of moisture or material damage.
The situation deserves closer attention when peeling appears in multiple areas, grows quickly, occurs near windows or rooflines, or is paired with soft wood, cracked stucco, stains, or recurring bubbles. These are signs that the cause may be below the surface.
Pay attention to patterns. Peeling low on a wall may relate to sprinklers, soil contact, or splashback. Damage beneath eaves can point to a gutter issue. Peeling around a window may indicate failed caulk, flashing trouble, or water intrusion. A good on-site assessment looks beyond the paint to identify these clues.
For homes built before 1978, older paint layers may contain lead. Disturbing those coatings through aggressive scraping or sanding requires proper safety practices. Homeowners should avoid treating unknown older paint as an ordinary weekend cleanup project.
The Proper Repair Process for Peeling Exterior Paint
A lasting repair follows a sequence. Skipping steps may save time on the front end, but it often leads to another round of peeling much sooner than expected.
1. Correct the source of damage
Before surface work starts, resolve active leaks, redirect sprinklers, repair failing trim, and address cracks or gaps that are allowing water in. If moisture remains trapped in the wall, fresh paint has little chance of lasting.
This step may involve painting-related repairs such as stucco patching, trim replacement, caulking, and sealing. More significant roof, plumbing, or drainage issues may require the appropriate trade professional first. That is not a delay tactic. It is the practical way to avoid painting over an unresolved problem.
2. Remove all loose and failing paint
Loose material must be scraped away until the remaining paint is firmly bonded. The edges are then sanded or feathered so the repair will not leave a sharp ridge visible through the final coats. Areas with chalking may also need thorough washing and preparation before any primer is applied.
The goal is not to remove every bit of old paint automatically. It is to remove everything that has failed while preserving sound coating where appropriate. The condition of the existing finish determines how extensive this work needs to be.
3. Repair the underlying surface
Cracks in stucco, holes, damaged siding, deteriorated trim, and failed caulking should be repaired before the coating system goes on. Texture matching matters on stucco because a smooth patch can stand out even after it is painted.
Wood repairs also deserve careful attention. Replacing a rotted section, setting nails, filling minor defects where appropriate, and sealing exposed end grain helps create a surface that is ready to hold paint rather than fight against it.
4. Prime exposed areas correctly
Primer is not a substitute for cleaning or repair, but it is essential where bare stucco, wood, patched areas, or weathered surfaces are exposed. The right primer improves adhesion, evens out absorption, and helps finish coats develop consistent color and sheen.
Primer selection depends on the material and condition. A one-size-fits-all approach can create problems, particularly on aged wood, stained areas, or repaired stucco. Premium products and compatible coating systems are worth considering because exterior paint is expected to protect the home, not just refresh its appearance.
5. Apply finish coats in suitable conditions
Exterior paint needs reasonable temperatures, dry surfaces, and enough time to cure. Painting during excessive heat, on damp walls, or when rain is expected can compromise the result. A professional schedule accounts for weather, sun exposure, and the specific product requirements.
Two properly applied finish coats generally provide better coverage and longer-term protection than a thin single coat. The final result should look even, but appearance is only part of the standard. The coating should also seal repaired areas, protect vulnerable trim, and hold up to regular exposure.
When a Full Repaint Makes More Sense
Spot repairs can be practical, but they have limits. A full repaint is often the better long-term choice when peeling is widespread, the current paint is heavily chalked, multiple elevations are fading, or numerous patches would create an uneven appearance.
Color matching is another consideration. Even if the original paint color is known, years of sun exposure can change how the existing wall looks. A small repair on a shaded wall may blend well. The same repair on a sun-faded front elevation may remain visible. An on-site estimate can help determine whether targeted work or a broader project gives better value.
For commercial properties, the decision may also involve scheduling. Repairing the most exposed areas first can be sensible when budgets or operating hours require phased work. The important point is to keep failing paint and moisture-related damage from becoming a larger maintenance issue.
Protecting the New Finish
Once repairs and repainting are complete, simple maintenance can extend the life of the work. Keep sprinklers off walls, clear gutters, watch for failed caulk, and inspect trim and stucco after heavy weather. Washing away accumulated dust and cobwebs periodically also helps exterior surfaces stay cleaner and makes new problems easier to notice.
If you see blistering, cracking, or fresh peeling, take a photo and note where it appears. Early attention is usually less disruptive and less costly than waiting for paint failure to expose more wood, stucco, or wall damage. A careful exterior assessment from an experienced, licensed, and insured painting contractor can give you a clear path forward before a small flaw becomes a bigger repair.
Leave a Reply