


A fresh color can make a room feel completely different, but paint will only look as good as the surface beneath it. Knowing how to prepare walls for painting means addressing the small issues that tend to show up after the rollers are put away: nail holes, greasy fingerprints, uneven texture, peeling edges, and stains that bleed through a new finish.
Proper preparation takes time, and it is where much of a professional-quality paint job is won or lost. A wall that is clean, sound, dry, and properly primed gives paint the grip it needs for an even appearance and a finish that holds up to normal family life.
Start With a Careful Wall Inspection
Before moving furniture or opening a paint can, inspect the walls in good daylight. Look from several angles, because side lighting often reveals flaws that disappear when viewed straight on. Mark nail holes, dents, loose drywall tape, popped fasteners, cracks, stains, and areas where old paint is peeling or bubbling.
Not every flaw requires the same repair. A few picture-hook holes can be filled quickly, while a long crack near a doorway may point to movement that needs a more durable repair. In older homes, texture inconsistencies and prior patchwork can also become much more noticeable under a low-sheen or satin paint.
Moisture deserves special attention. If you see bubbling paint, dark staining, soft drywall, or recurring mildew, find and correct the source before painting. Painting over an active leak, bathroom ventilation issue, or exterior water intrusion only hides the problem briefly. The new coating will eventually fail as well.
Protect the Room Before You Begin
Good wall preparation includes protecting the parts of the room that are not being painted. Move furniture away from the walls, cover it with clean plastic or cloth, and use drop cloths on floors. Remove switch plates, outlet covers, vent covers, curtain hardware, and removable wall décor rather than trying to paint around them.
Use painter’s tape where a crisp edge is needed, such as along trim, cabinets, tile, or adjacent finished surfaces. Press the tape down firmly so paint cannot creep underneath. Tape is helpful, but it is not a substitute for careful cutting-in with a quality angled brush.
For occupied homes and businesses, this step also keeps disruption under control. Organized protection and daily cleanup make a significant difference when a room must remain usable during the project.
Clean Walls So Paint Can Adhere
Walls may look clean while carrying a thin layer of dust, cooking residue, hand oils, hairspray, or smoke film. Paint applied over contamination can have adhesion problems, particularly around kitchens, bathrooms, hallways, and frequently touched doors and trim.
Start by dusting the walls, ceilings, baseboards, and corners with a vacuum brush attachment, microfiber cloth, or dry mop. Then wash areas that need it with a mild cleaner and water, using a clean sponge or cloth. Kitchen walls may require a degreasing cleaner, while bathrooms often need attention around moisture-prone areas.
Avoid soaking drywall. The goal is to remove surface residue, not saturate the wall. Rinse away cleaner residue with a damp cloth when needed, then allow the walls to dry completely. Paint applied to a damp surface can blister, peel, or dry unevenly.
Watch for Mildew and Stains
Mildew should be removed with an appropriate mildew-cleaning product, following the manufacturer’s safety directions. Wear gloves, provide ventilation, and never treat a recurring mildew problem as a paint-only issue. Better ventilation, leak repair, or humidity control may be necessary first.
Water marks, crayon, marker, nicotine, and certain grease stains can show through regular wall paint. After cleaning and drying, these areas usually need a stain-blocking primer. Skipping this step may leave a faint yellow or brown shadow visible through multiple finish coats.
Repair Holes, Cracks, and Damaged Drywall
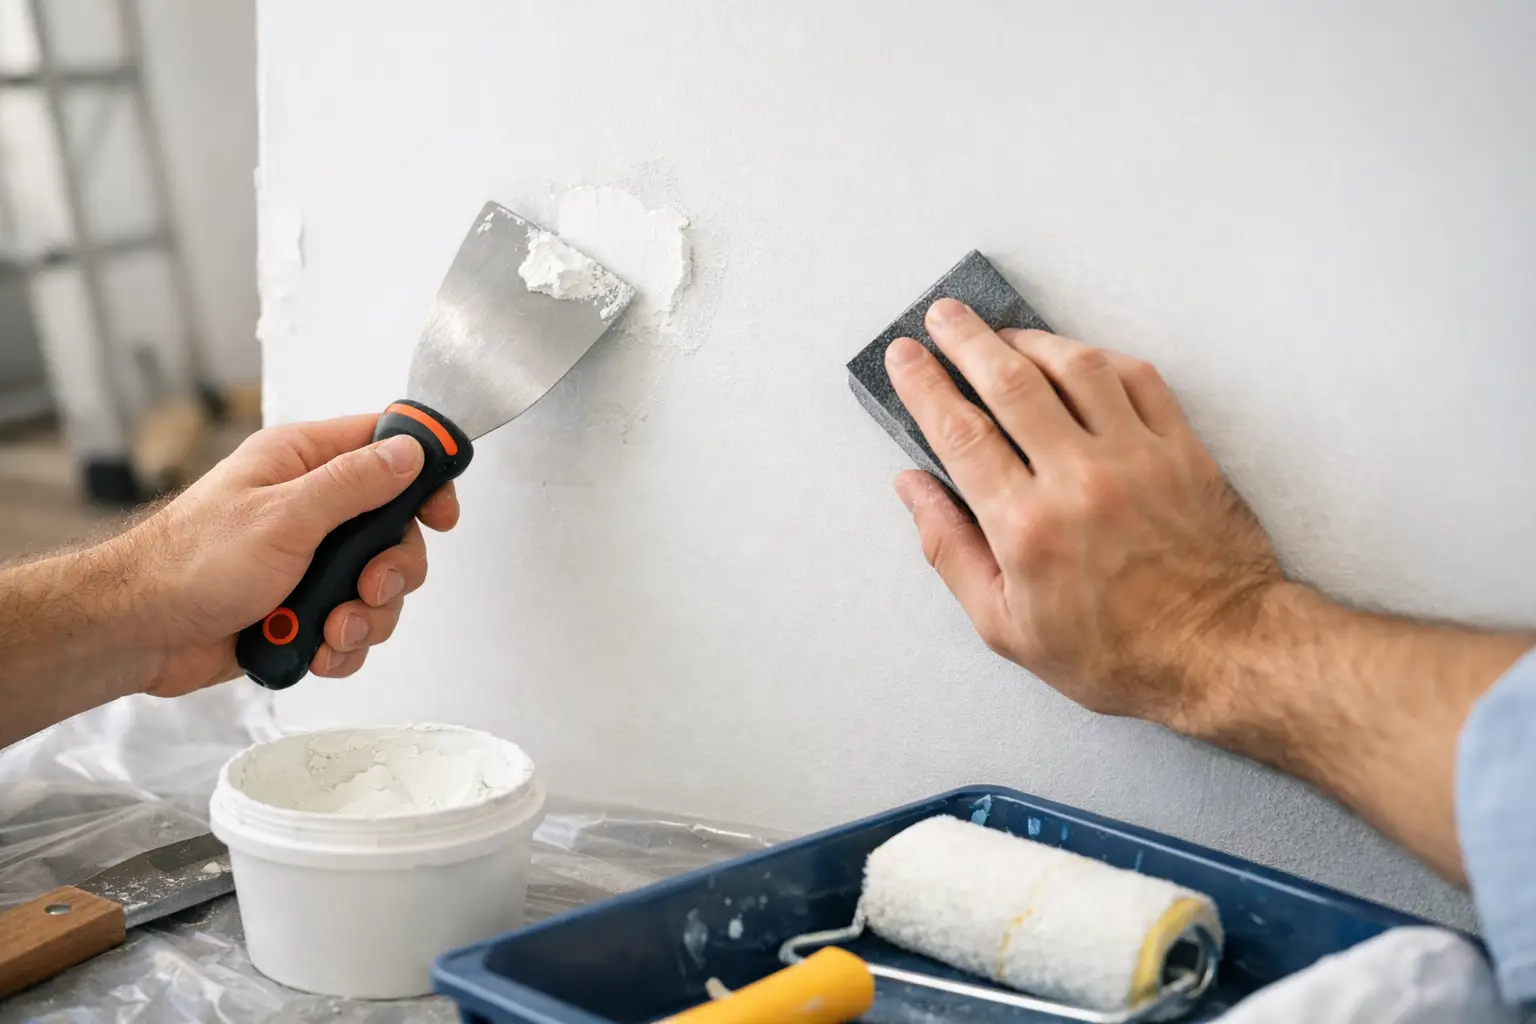
Once the wall is clean and dry, make the needed repairs. Small nail holes and shallow dents can be filled with lightweight spackle. For larger holes or deeper damage, use a suitable patching compound and, when necessary, a drywall patch or mesh support.
Apply compound in thin layers rather than one heavy application. Thick patches can shrink, crack, or take much longer to dry. Feather the edges beyond the damaged area so the repair blends gradually into the surrounding wall.
Cracks deserve a little more care. Hairline cracks may only need flexible patching material, but cracks along drywall joints can require retaping and joint compound. If the tape is loose, simply coating over it will not create a lasting repair. The loose material should be removed and the joint rebuilt properly.
In homes with textured walls, matching the existing orange peel, knockdown, or hand texture is often the most challenging part of preparation. A smooth patch in the middle of a textured wall will stand out after painting, especially in sunlight. Test texture material on cardboard first, or have a skilled painter blend the repair before coating the entire wall.
Sand for a Smooth, Even Surface
Sanding is not about stripping every wall to bare drywall. It is about removing loose paint, leveling patch edges, dulling glossy surfaces, and creating a clean surface profile for the next coat.
Use fine-grit sandpaper for most wall patches and previously painted interior walls. Sand repaired areas until you cannot feel a ridge where the compound meets the wall. On glossy or semi-gloss painted surfaces, a light scuff sanding helps the new coating bond more reliably.
After sanding, remove every trace of dust. Vacuum the wall and surrounding surfaces, then wipe with a slightly damp microfiber cloth if appropriate. Fine dust left on the wall can create a gritty finish and reduce paint adhesion.
If paint is peeling extensively, the preparation may be more involved. Scrape loose material until you reach firmly bonded paint, sand the transition edge smooth, and prime exposed drywall or bare areas. If a home was built before 1978, take precautions before disturbing old paint, as it may contain lead. Professional assessment is the safer choice when there is any concern.
Prime the Right Areas, Not Just the Whole Room
Primer is not always required over a clean, sound wall that is being repainted in a similar color with a quality paint-and-primer product. Even so, primer remains essential in many common situations: bare drywall, fresh patches, repaired texture, stains, significant color changes, glossy surfaces, and walls with uneven porosity.
Fresh drywall compound absorbs paint differently than the surrounding painted wall. Without primer, patches may flash, meaning they show as dull or uneven spots under the final finish. Spot priming can work for small repairs, but a full prime coat often produces a more uniform result when there are many patches or widespread repairs.
Choose the primer for the problem at hand. Stain-blocking primer is designed for discoloration. Bonding primer helps on slick or difficult surfaces. Drywall primer seals new wallboard and joint compound. Using the wrong product can add work without solving the issue.
How to Prepare Walls for Painting in High-Use Rooms
Kitchens, bathrooms, entryways, children’s rooms, and commercial spaces need extra attention because they receive more traffic, moisture, or cleaning. In a kitchen, degreasing is often more important than homeowners expect. Around a bathroom shower or vanity, confirm that the drywall is solid and the ventilation issue, if any, is resolved before coating.
For an office, retail suite, or small restaurant, preparation should also be planned around operations. Repairs, sanding, and priming can create dust and odors, so scheduling these steps outside peak business hours may reduce disruption. Protecting fixtures, merchandise, and flooring carefully is part of doing the work responsibly.
Know When Professional Preparation Is Worth It
A homeowner can successfully handle routine cleaning, small patches, and light sanding. The trade-off is time, equipment, and the ability to recognize problems before they are covered up. Larger drywall repairs, recurring cracks, water damage, texture matching, and extensive peeling paint are usually better handled by an experienced painting contractor.
Professional preparation also brings consistency. The Painter Man evaluates the condition of each surface, completes needed repairs, selects suitable primers, and keeps the work area orderly before finish paint is applied. That approach helps protect both the appearance of the project and the investment behind it.
Give repairs and primer the full drying time listed on their labels, even when the room looks ready sooner. A patient, well-prepared wall rewards you every time the light hits it – with a finish that looks clean, even, and built to last.
Leave a Reply