



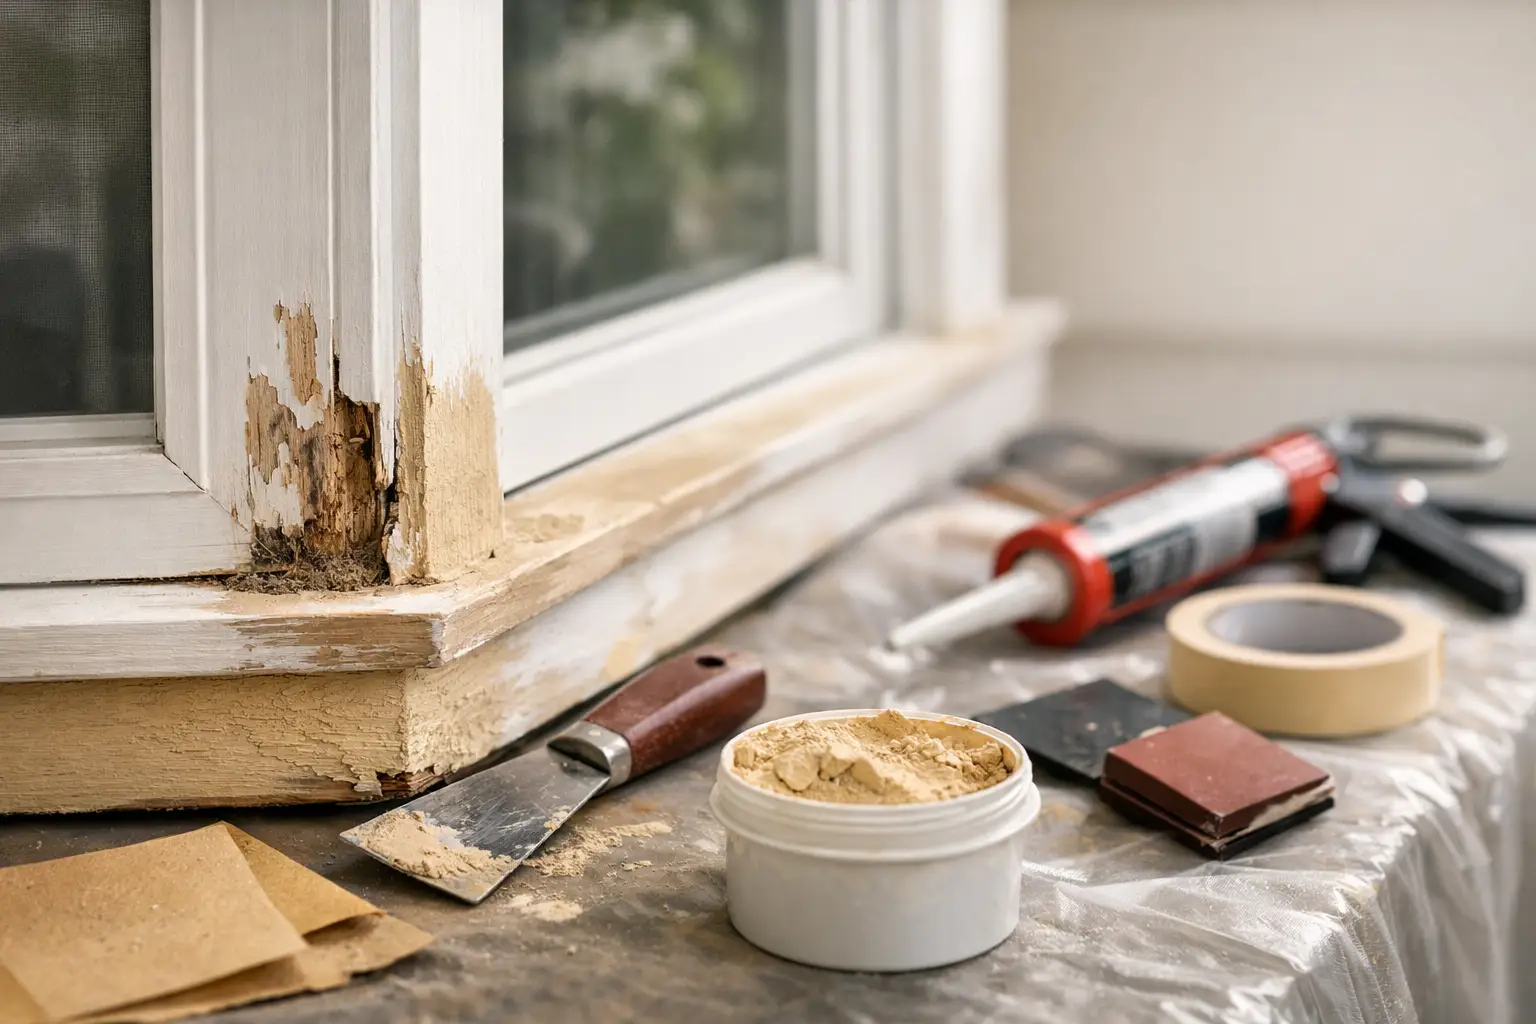
A fresh coat of paint cannot hide wood trim that is soft, cracked, loose, or swollen from moisture. In fact, skipping wood trim repair before painting often leads to peeling paint, visible seams, and repairs that show through far sooner than a homeowner expects. The best-looking paint job begins with sound, dry, properly prepared wood.
Trim has an important job on both the interior and exterior of a home. It frames doors and windows, covers transitions between materials, and gives rooms and elevations a finished appearance. Because it sits at edges, joints, windowsills, baseboards, and door frames, it is also one of the first surfaces to reveal damage from water, impact, sun exposure, and everyday use.
Why Trim Repairs Matter Before the First Coat
Paint protects wood, but it is not a structural repair material. Applying paint over deteriorated trim may improve the appearance for a short time, but it does not stop rot, tighten loose boards, or correct gaps that allow water behind the surface. When the underlying issue remains, the new coating can fail right along with the wood beneath it.
Exterior trim in North San Diego County and South Riverside County sees strong sun, changing temperatures, occasional wind-driven rain, and irrigation overspray. South-facing fascia, window trim, garage trim, and exposed door casings can dry out and crack. Areas near rooflines, windows, and sprinklers can take on moisture repeatedly. The right repair depends on whether the damage is cosmetic, localized, or a sign that water is entering from somewhere else.
Interior trim has different challenges. Baseboards may be gouged by furniture, door casings may split near hinges, and painted crown molding can develop open joints as the home moves slightly with seasonal conditions. These problems are often repairable without replacement, but they still need careful preparation if the finish is going to look clean and continuous.
How to Evaluate Damaged Wood Trim
A close inspection should happen before paint colors, sheens, and finish coats are discussed. The first step is identifying what the trim is made of and what caused the damage. Solid wood, finger-jointed wood, MDF, composite trim, and previously repaired areas do not all respond the same way to moisture or patching materials.
Light surface cracks, shallow dents, old nail holes, and small open seams are usually straightforward repairs. Loose caulk can be removed and replaced, fasteners can be reset, and a quality filler can restore small imperfections. These are common preparation items that make a significant difference in the final appearance.
Soft wood is a different concern. If a screwdriver presses easily into the trim, if the wood flakes away, or if paint is bubbling in a localized area, there may be rot beneath the coating. The damaged material should be removed until solid wood remains. Patching over soft or wet wood only delays the problem.
It is also wise to look beyond the trim itself. A damaged windowsill may point to failed window caulking. Rotten fascia can be related to a roof or gutter issue. Repeated baseboard swelling may come from a plumbing leak, pet damage, or moisture migrating through a nearby wall. Repairing the trim without addressing the source can mean doing the same work again later.
Wood Trim Repair Before Painting: The Right Process
Professional preparation is methodical because each step supports the one that follows. The goal is not simply to make a damaged spot less noticeable. It is to create a stable surface that allows primer and paint to bond properly.
Remove Failed Paint and Unsound Material
Peeling paint, loose caulk, crumbling filler, and deteriorated wood need to come off before any patching begins. Scraping and sanding reveal the true condition of the surface and feather the edges between bare wood and intact paint. On older homes, care is especially important when disturbing existing coatings. A qualified contractor can assess the situation and follow appropriate safety practices for the age and condition of the home.
For localized rot, a contractor may remove the affected section and install a matching piece of trim. This is often the most dependable solution when the damage is extensive or near a joint. For very small, stable areas of wood loss, a professional-grade two-part wood repair product may be appropriate after all soft material has been removed.
Secure, Fill, and Shape the Repair
Loose trim should be fastened securely before filling cracks or gaps. Otherwise, normal movement can reopen the repair and crack the paint film. Recessed nail holes, minor chips, and shallow splits can then be filled with a product suited to the location. Exterior repairs need materials that tolerate temperature changes and moisture. Interior trim may call for a finer filler that sands smoothly for a furniture-like finish.
Once cured, the repair is sanded to match the profile of the surrounding trim. This is where workmanship becomes visible. A patch that is slightly proud, too flat, or poorly feathered can cast a shadow after painting, especially on glossy doors, bright white baseboards, and trim near windows.
Caulk Gaps Where Movement Is Expected
Caulk is useful for narrow gaps between trim and siding, trim and wall surfaces, or at joints where a flexible seal is needed. It should not be used to fill large voids, replace missing wood, or cover a failed joint that needs fastening first.
The right caulk needs enough flexibility for the location and should be paintable after proper curing. A neat, consistent caulk line helps keep out moisture and creates the crisp finished edges homeowners expect. Excess caulk, however, can make detailed trim look rounded and sloppy, so application matters as much as the material.
Prime Bare Wood and Repaired Areas
Primer is the bridge between repaired wood and the finish paint. Bare wood can absorb paint unevenly, while fillers, stains, knots, and old repairs can show through if they are not sealed correctly. A compatible primer helps create an even surface and supports better adhesion for the finish coats.
Not every situation requires the same primer. Exterior bare wood, water-stained trim, tannin-rich wood, and interior patches may need different products. This is one reason a one-size-fits-all paint-and-primer approach can disappoint on repair-heavy trim. Selecting materials based on the actual substrate produces a more even, longer-lasting result.
When Repair Is Better Than Replacement
Repair is often the sensible choice when damage is shallow, localized, and the surrounding trim remains solid. It preserves the existing profile, reduces disruption, and can be more cost-effective than replacing long runs of otherwise sound material. This is common with small sections of window trim, minor fascia damage, and interior casing defects.
Replacement is generally the better investment when rot extends through the board, a piece has warped significantly, multiple repairs have already failed, or the trim no longer holds fasteners securely. Replacement also makes sense when the source of moisture has caused widespread deterioration. A careful estimate should explain which areas can be repaired and which ones should be replaced, rather than treating every defect the same way.
For historic or custom trim, matching the original profile may take added care. In those cases, preserving sound material and making targeted repairs can protect the character of the home while still preparing it for a durable paint system.
Common Shortcuts That Shorten Paint Life
The most common mistake is painting over a problem because the trim looks acceptable from a few feet away. Paint may temporarily disguise a dark spot or crack, but it cannot bond reliably to loose paint, chalky wood, damp surfaces, or failing caulk.
Another shortcut is relying on lightweight spackle for exterior wood repairs. It may be easy to apply, but it is usually not designed for outdoor movement and moisture. The same applies to filling deep voids with caulk alone. These materials can shrink, crack, or pull away once the trim expands and contracts.
Rushing dry times creates problems as well. Wood needs to be dry before repair and priming, fillers need to cure before sanding, and caulk needs adequate time before paint. A schedule should account for weather, moisture levels, and product requirements instead of treating preparation as an afterthought.
What Homeowners Can Do Before a Painting Estimate
You do not need to diagnose every trim issue yourself. A simple walk around the property and a note of visible concerns can make an on-site estimate more productive. Look at window and door trim, fascia boards, eaves, garage trim, porch posts, and any area near sprinklers or gutters. Indoors, check baseboards around bathrooms, kitchens, entryways, and rooms where furniture has caused damage.
If you notice recurring peeling, soft wood, staining, or gaps that keep reopening, mention it during the estimate. Those details help a painting contractor plan the right repairs, materials, and timeline before work begins. The Painter Man evaluates preparation needs as part of the project so repairs and painting work together rather than becoming separate, disconnected tasks.
Well-repaired trim does more than make new paint look sharp on day one. It helps protect the edges and openings where a home is most vulnerable, giving each finish coat a sound surface to do its job for years to come.
Leave a Reply