


A drywall patch can look perfectly flat at noon and completely obvious by late afternoon, when sunlight skims across the wall. That is why drywall texture matching after repair is more than a final touch. It is the step that makes a repaired hole, crack, or water-damaged area disappear into the rest of the room instead of announcing where the work was done.
For homeowners, a mismatched patch is especially frustrating because fresh paint often makes the difference more noticeable. A professional-looking repair depends on the condition of the drywall, the existing texture, the size of the repair, and the way the surface is prepared before texture and paint are applied.
Why Drywall Texture Matching Is So Difficult
Most walls are not truly smooth. Even walls that appear smooth from across the room often have a light sprayed texture, a subtle hand-applied finish, or years of paint buildup that creates a particular surface pattern. A repaired section starts with fresh joint compound and new drywall paper, so it does not naturally have the same character as the surrounding wall.
Texture also catches light differently than a flat surface. A patch that is too smooth may show as a dark or glossy shape. A patch with a heavier texture can create a raised spot that stands out from several feet away. The goal is not simply to put texture on the repair. It is to duplicate the size, direction, density, and thickness of the surrounding finish.
Paint sheen adds another challenge. Flat paint hides minor differences better than eggshell, satin, or semi-gloss. In kitchens, bathrooms, hallways, and high-traffic commercial spaces, a washable higher-sheen paint may be the right choice, but it gives less room for error. Good surface preparation becomes even more important.
Start With a Sound, Level Repair
Texture cannot hide a weak drywall repair. Before any texture work begins, the damaged area needs to be stable, clean, and properly patched. Loose drywall paper should be removed or sealed, damaged sections should be secured, and cracks should be addressed rather than simply covered with compound.
For holes and larger openings, the patch needs backing or a solid repair method that keeps it from shifting over time. Drywall tape reinforces seams and helps prevent the joint compound from cracking along the repair line. Each coat of compound must dry fully before the next is applied, especially during cooler or more humid conditions.
The repair is then feathered well beyond the patch itself. This is where many do-it-yourself repairs fall short. If the compound ends abruptly near the edge of the patch, the wall may feel smooth to the touch but still show a noticeable outline after painting. Wide, gradual feathering helps the repaired plane blend into the existing wall.
After sanding, a work light held at a low angle is useful for finding ridges, dips, pinholes, and hard edges. The surface should look consistent before texture is added. Texture is a finish coat, not a substitute for leveling the repair underneath.
Identify the Existing Wall Texture Before You Match It
A close look at an undamaged section of the same wall is the best starting point. Texture can vary from room to room, and sometimes even between walls in the same home after past remodeling or repainting work. Matching the ceiling texture to a wall texture, or assuming every room has the same finish, can lead to a repair that looks out of place.
Orange Peel Texture
Orange peel has a fine, dimpled surface similar to the skin of an orange. It is commonly sprayed on and is often found in newer homes and remodeled interiors. The main variables are the amount of material, spray pressure, nozzle size, and distance from the wall.
A can of aerosol texture may work for a very small repair, but it can be difficult to control. The material can come out too heavy, too wet, or too uniform compared with the original wall. For larger repairs, professional spray equipment allows better adjustment and more natural blending into the surrounding area.
Knockdown Texture
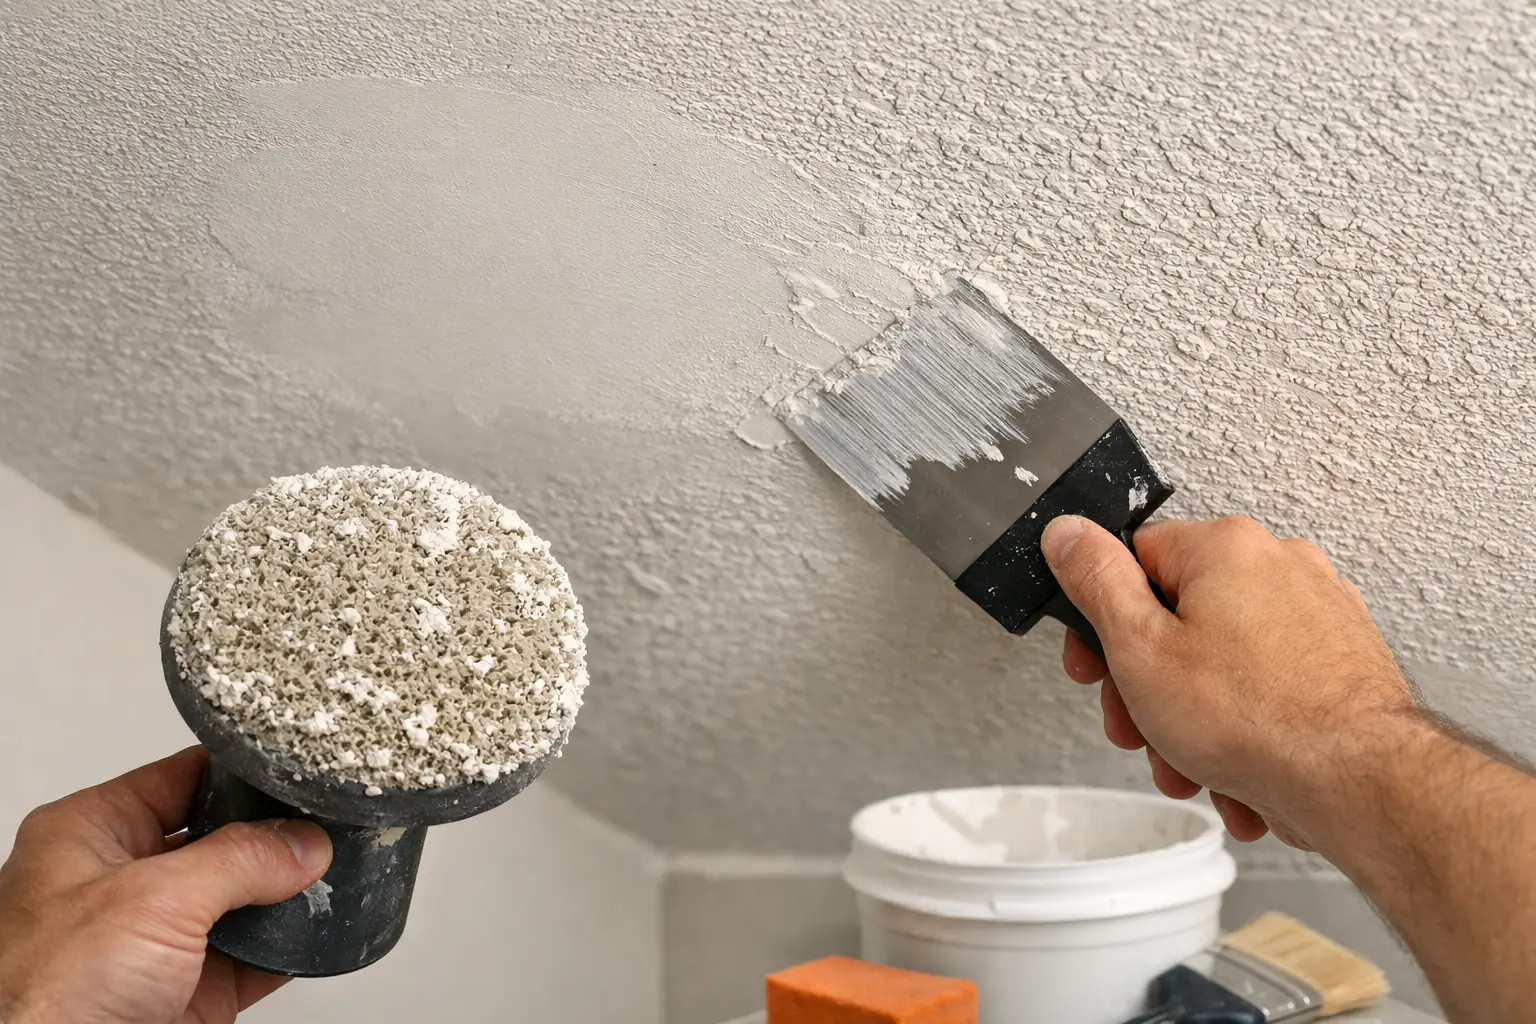
Knockdown begins as a sprayed splatter texture that is allowed to set briefly, then lightly flattened with a broad knife. It creates irregular, low-profile patterns rather than sharp bumps. Timing matters: knock down too soon and the pattern smears; wait too long and it will not flatten properly.
Matching knockdown requires attention to the original pattern. Some knockdown finishes are fine and tight, while others have broad, widely spaced splatters. A repair should continue the existing pattern instead of creating a new one in a small rectangular area.
Hand-Applied and Skip-Trowel Finishes
Hand-applied textures often have more movement and variation than sprayed finishes. Skip trowel, stomp, crows-foot, and similar textures are created by the motion of the tool as much as by the material itself. These finishes can be challenging because a repeated or overly careful pattern may look artificial beside an older, more random wall.
A skilled finisher studies the direction, pressure, and spacing of the existing texture before working on the repair. It may take a test area on scrap drywall to get the compound consistency and technique right.
Smooth Walls
Smooth wall repairs may be the least forgiving of all. Any unevenness, sanding scratch, or difference in paint sheen can be visible under natural light. The repair needs several carefully feathered coats of compound, fine sanding, proper primer, and often paint applied across the entire wall plane for the most uniform result.
The Right Process for Drywall Texture Matching After Repair
The best results come from treating texture matching as a sequence, not a single spray-and-paint step. After the repair is finished and sanded, dust must be removed from the area. Drywall dust can interfere with adhesion and leave a rough, gritty finish beneath the primer and paint.
Primer comes next, particularly over new joint compound, exposed drywall paper, or repaired water stains. Primer seals porous areas so they do not absorb paint differently from the rest of the wall. Without it, the repaired area can flash through the finish as a dull or uneven patch even when the color is correct.
Once the primer is dry, the texture is applied in light passes or controlled hand applications. It is usually better to start lighter than the existing texture. More material can be added, but a heavy texture is difficult to remove without damaging the repair and starting over. The new texture should extend slightly beyond the repair boundary, fading gradually into the original finish.
After the texture has dried, inspect it from normal viewing distance and under different lighting. This is the point to correct an area that is too heavy, too smooth, or too sharply defined. A light sanding or a small amount of added texture can make a meaningful difference.
The final paint decision depends on the size and visibility of the repair. Touch-up paint may be enough when the original paint is recent, the color is known, and the finish has not faded. In many homes, however, paint ages differently due to sunlight, cleaning, and normal wear. Repainting from corner to corner on the repaired wall usually provides a more even result than trying to blend a small paint spot into older paint.
Common Shortcuts That Leave a Visible Patch
The most common mistake is applying texture over a repair that has not been feathered wide enough. Another is using a heavy aerosol texture without first testing the spray pattern. Both can leave a repair that looks acceptable up close but shows clearly from across the room.
Skipping primer is another frequent problem. New compound absorbs paint differently, and stains can return through a finish coat if they have not been properly sealed. Painting too soon can also cause trouble. Joint compound, texture, primer, and paint each need adequate drying time to perform as intended.
Trying to match paint color alone can be misleading. Even a perfect color match may not hide a texture difference, while a well-matched texture can still look wrong if the paint sheen is different. The repair, texture, primer, and finish paint need to work together.
When a Professional Repair Is Worth It
Small nail holes and minor dings are often manageable for a careful homeowner. A professional drywall and painting contractor is especially helpful when damage involves a large hole, recurring cracks, water staining, textured ceilings, high walls, or a finish with visible sheen. These repairs require more than a patch kit and can affect the appearance of an entire room.
For homes in North San Diego County, where bright sun can expose wall imperfections quickly, experienced texture matching can protect the value of an otherwise well-maintained interior. The Painter Man approaches repairs with the same preparation and attention to finish quality used for full interior painting projects, from protecting the work area through final cleanup.
A repaired wall should not make you change where you place a lamp or avoid looking at it in afternoon light. Give the patch the time, preparation, and careful blending it needs, then finish the wall in a way that lets the room look whole again.
Leave a Reply