



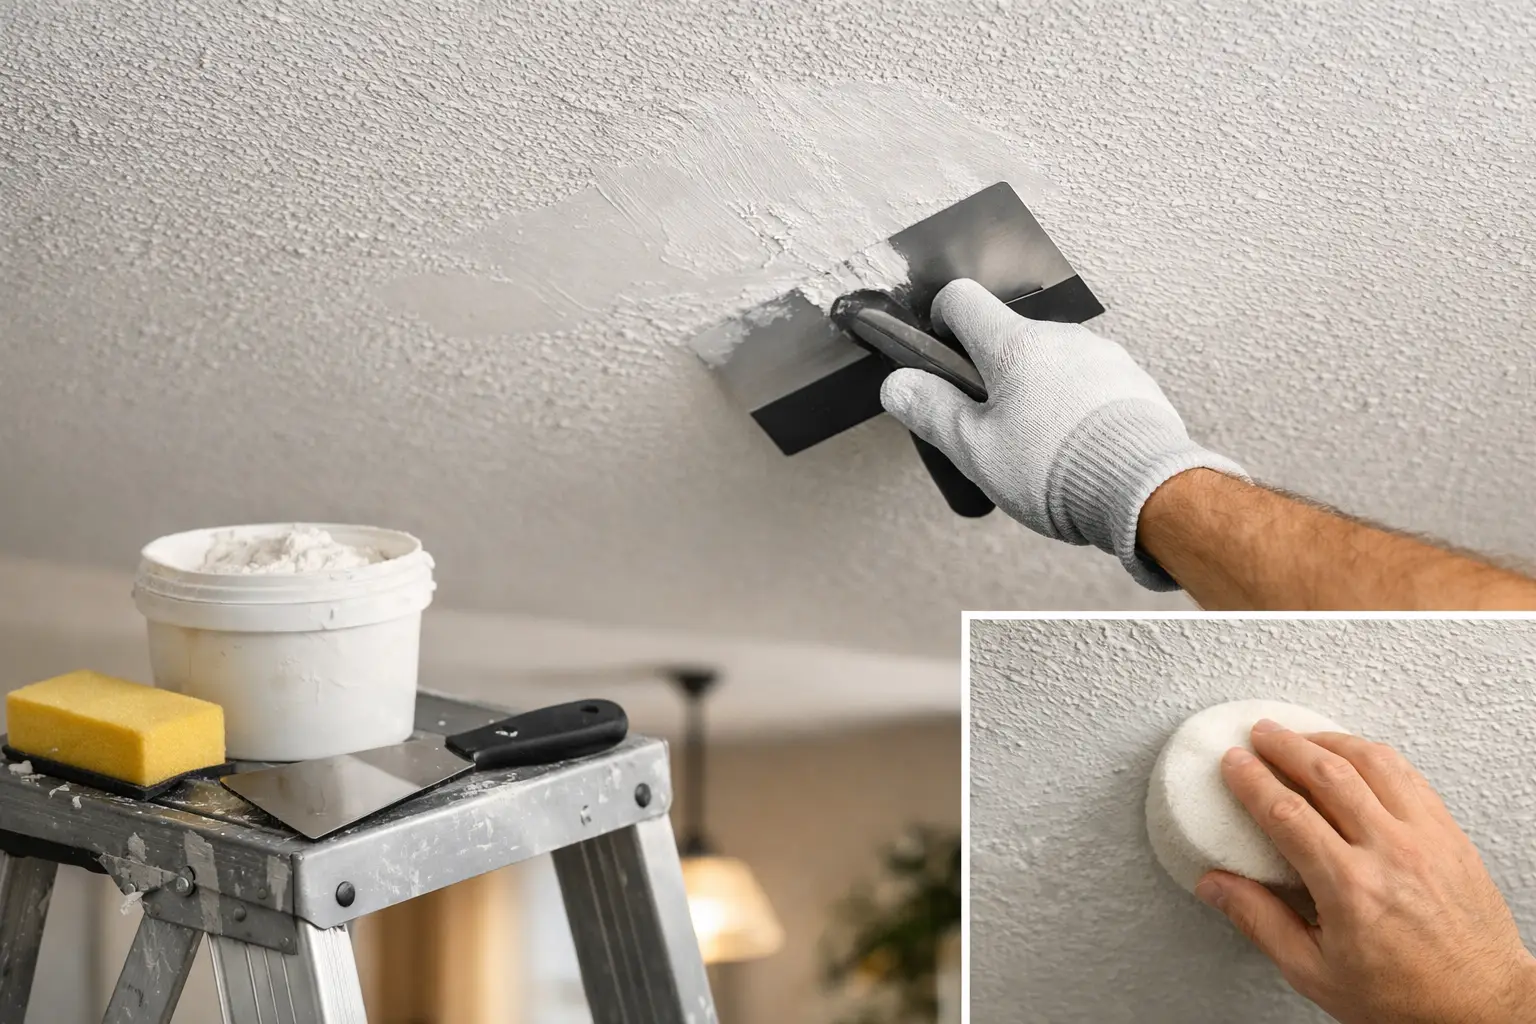
A ceiling repair can look nearly invisible or stand out every time the afternoon light hits it. The difference is rarely just the patching compound. Knowing how to repair ceiling texture means finding and correcting the cause of damage, recreating the surrounding pattern, and painting the entire area so the repair belongs with the rest of the ceiling.
For homeowners, a small stain, nail pop, cracked seam, or damaged drywall often looks like a simple cosmetic issue. It may be. But a recurring stain or crack can point to moisture movement, a roof or plumbing leak, or drywall that was not properly secured. Repair the source first, then repair the surface.
Start by Identifying the Ceiling Texture
Texture is not one-size-fits-all. A hand-applied knockdown ceiling, fine orange peel, heavy stomp texture, and popcorn ceiling each require a different repair approach. Before touching the damaged area, study an undamaged section nearby in both daylight and artificial light.
Look at the size of the raised areas, the direction of the pattern, and how much bare flat ceiling shows between texture. Take a clear photo and, if possible, make a small practice sample on scrap drywall. Texture that seems subtle from the floor can be surprisingly specific once you are working a few feet away.
The age of the home matters, especially with popcorn ceilings. If a ceiling texture was installed before the mid-1980s, do not sand, scrape, drill, or disturb it until it has been tested for asbestos by a qualified professional. Even if a ceiling was added later, prior coatings or materials may be uncertain. A small test is a sensible safeguard before any work creates dust.
Find and Fix the Cause of Damage
A brown or yellow ceiling stain requires more than a coat of paint. Check the area above it for roof leaks, plumbing leaks, condensation around ducts, or an upstairs bathroom issue. The ceiling must be completely dry before it is repaired. Covering wet drywall can trap moisture and lead to soft spots, peeling paint, or mold growth.
Cracks deserve the same attention. A hairline crack that has remained unchanged for years may be cosmetic. A crack that widens, returns after repair, runs along a seam, or appears with sagging may indicate movement, a loose drywall panel, or a more significant problem. Fasten loose drywall where appropriate and reinforce seams correctly rather than repeatedly filling the visible line.
For damage near a shower, kitchen, or exterior wall, consider whether ventilation or insulation is contributing to the problem. A repair should protect the finish for years, not simply make it look better for a few weeks.
How to Repair Ceiling Texture Step by Step
Set up carefully before beginning. Move furniture away from the work area, cover floors and remaining furnishings with clean drop cloths, and use plastic sheeting where dust needs to be contained. Ceiling work is messy by nature, and a clean setup is part of a professional result.
Remove loose material and make a sound repair
Use a putty knife to remove loose paint, crumbling joint compound, or damaged texture around the repair. Do not widen the area unnecessarily, but do remove anything that is no longer firmly bonded. If the drywall itself is soft, swollen, or broken, cut out the damaged section and install a properly supported drywall patch.
For shallow dents, nail pops, and small chips, apply a thin coat of quality joint compound or setting-type compound. Press it firmly into the defect, then feather the edges beyond the repair. Several thin coats generally create a flatter, stronger result than one heavy application.
When repairing a drywall seam or a crack with movement, embed paper tape or fiberglass mesh tape as the repair calls for. Paper tape, properly bedded in joint compound, is often preferred for a strong, smooth seam. Let each coat dry fully, then sand lightly to remove ridges. The goal is not to sand a broad crater into the ceiling. It is to make the patched area level with the existing drywall.
Seal stains before texturing
Water stains, smoke residue, and tannin marks can bleed through ordinary paint. Once the surface is dry and repaired, apply a stain-blocking primer to the affected area. For a severe or persistent stain, an oil-based or shellac-based stain blocker may be necessary, though these products need good ventilation and careful handling.
Do not skip this step because the stain looks faint after patching. Ceiling paint is usually flat and light in color, which makes bleed-through especially noticeable over time.
Recreate the texture in layers
The patch should be primed before texture is applied if the surrounding ceiling has been painted. Primer helps create a more even surface and prevents the repair from absorbing texture material differently than the existing ceiling.
For a fine orange peel texture, use a texture product designed for the purpose and practice your spray distance and pressure on cardboard first. Apply lightly. It is easier to add a second pass than to remove oversized texture dots after they dry.
Knockdown texture usually begins with a splattered application of thinned joint compound or texture material. Allow the splatter to set briefly, then lightly drag a wide knockdown knife across the peaks. Timing matters. If the material is too wet, it smears; if it is too dry, it does not flatten cleanly. Match the direction and pressure used on the surrounding ceiling.
Hand-applied textures, such as stomp, crows-foot, or brush patterns, need the right tool as much as the right material. A stomp brush or texture brush can reproduce the basic pattern, but a repair may still show if the mud is too thick or the pattern is too dense. Build the texture in light passes and compare it from the floor before allowing it to dry.
Popcorn texture is more difficult to blend, particularly if the original material has yellowed or been painted several times. Small repairs can sometimes be patched with an aerosol or hopper-applied popcorn texture. Larger areas may look better if the entire ceiling is retextured or, in some cases, skim-coated and refinished with a more current texture.
Paint More Than the Patch
After the texture has dried completely, prime the repaired area again if needed. Then paint the full ceiling from wall to wall whenever possible. Spot-painting a ceiling often leaves a visible sheen difference even when the paint color is correct.
Most ceilings are finished with flat paint because it minimizes glare and helps conceal small imperfections. However, bathrooms, kitchens, laundry rooms, and other humid spaces may benefit from a quality ceiling paint with better moisture resistance. The best finish depends on the room’s use, ventilation, and existing coating.
Use a consistent roller nap and maintain a wet edge while painting. A roller that is too thick can leave an unwanted stipple; one that is too thin may not cover texture evenly. Cut in carefully at the walls, then roll in manageable sections to keep the sheen uniform.
Common Mistakes That Make Repairs Stand Out
The most common mistake is applying too much joint compound or texture at once. Heavy material sags, creates a raised island, and is difficult to blend after it dries. A second mistake is matching the pattern while ignoring paint sheen, stains, or the natural fading of an older ceiling.
Rushing dry time causes problems as well. Compound, primer, texture, and paint each need adequate drying time based on the product instructions and room conditions. Cool temperatures and coastal humidity can extend those times. Finally, avoid sanding or scraping unknown older popcorn texture without proper testing.
When a Professional Repair Is Worth It
A small dent in a modern, lightly textured ceiling can be a manageable homeowner project. Larger repairs, repeated cracking, water damage, tall ceilings, complicated hand textures, and older popcorn ceilings are different situations. The work may involve leak coordination, drywall replacement, stain sealing, texture matching, and full-ceiling painting to avoid a visible patch.
For homeowners in North San Diego County, a professional assessment can also save time when ceiling damage is tied to other preparation needs, such as wall repair, repainting, or interior updates. The Painter Man approaches these projects with the same attention given to any painted surface: protect the home, prepare the substrate correctly, use quality materials, and leave the space clean.
A ceiling is easy to overlook until a repair catches the light. Taking the time to correct the underlying issue and match the finish patiently is what turns a patch into a repair that quietly disappears.
Leave a Reply